Our finished Music Video

My Outside Digipak Panels

My Outside Digipak Panels

My Inside Digipak Panels

My Inside Digipak Panels

Please click on the image below to view our finished website

Saturday 28 October 2017

R+P Post 21: My key shots storyboard

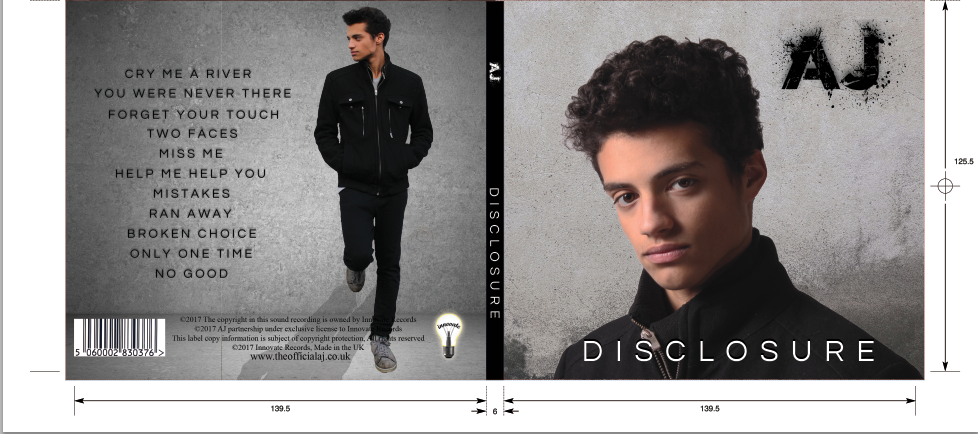
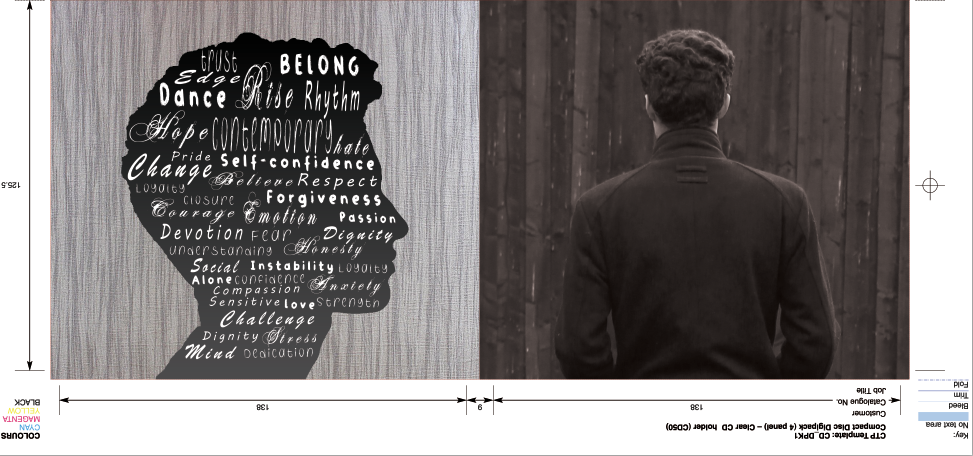
After finishing our timeline we used it to create our storyboard. To do this we got a piece of sugar paper and different coloured post-it notes which would represent different shot types (e.g long/mid/close-ups). We didn't storyboard every single shot, instead we decided on storyboarding our key shots and set-ups. Here is a photo of our finished storyboard.
Our Key Shots Storyboard
We decided to split it into four sections: Narrative shots , On location shots, Studio shots and Dance shots. Below are some photos of each section in more detail.

Studio Shots
Dance Shots
Location Shots
For the narrative we did storyboard all of the shots as it is an important part of our video. It helped us to ensure the narrative worked and that we didn't leave any shots out.
Narrative Shots
By colour coding the shot types it helped us to realise when we didn't have enough of one type of shot and so we could adapt and change our ideas slightly to make sure there was variety. It also helped us to check if we were following music video conventions by having dramatic shot changes (e.g from an long shot to a close up). Furthermore we also decided that we are going to film each location shot as a long, mid and close up so we have as many options as possible when it comes to editing.

Ultimately I feel like the storyboarding process has been really useful as we now know our key set ups and have a visual reference for all of our shots. This will be important when it comes to making our shootboard as we can guarantee to get the all of the shots we need. 

No comments:

Post a Comment